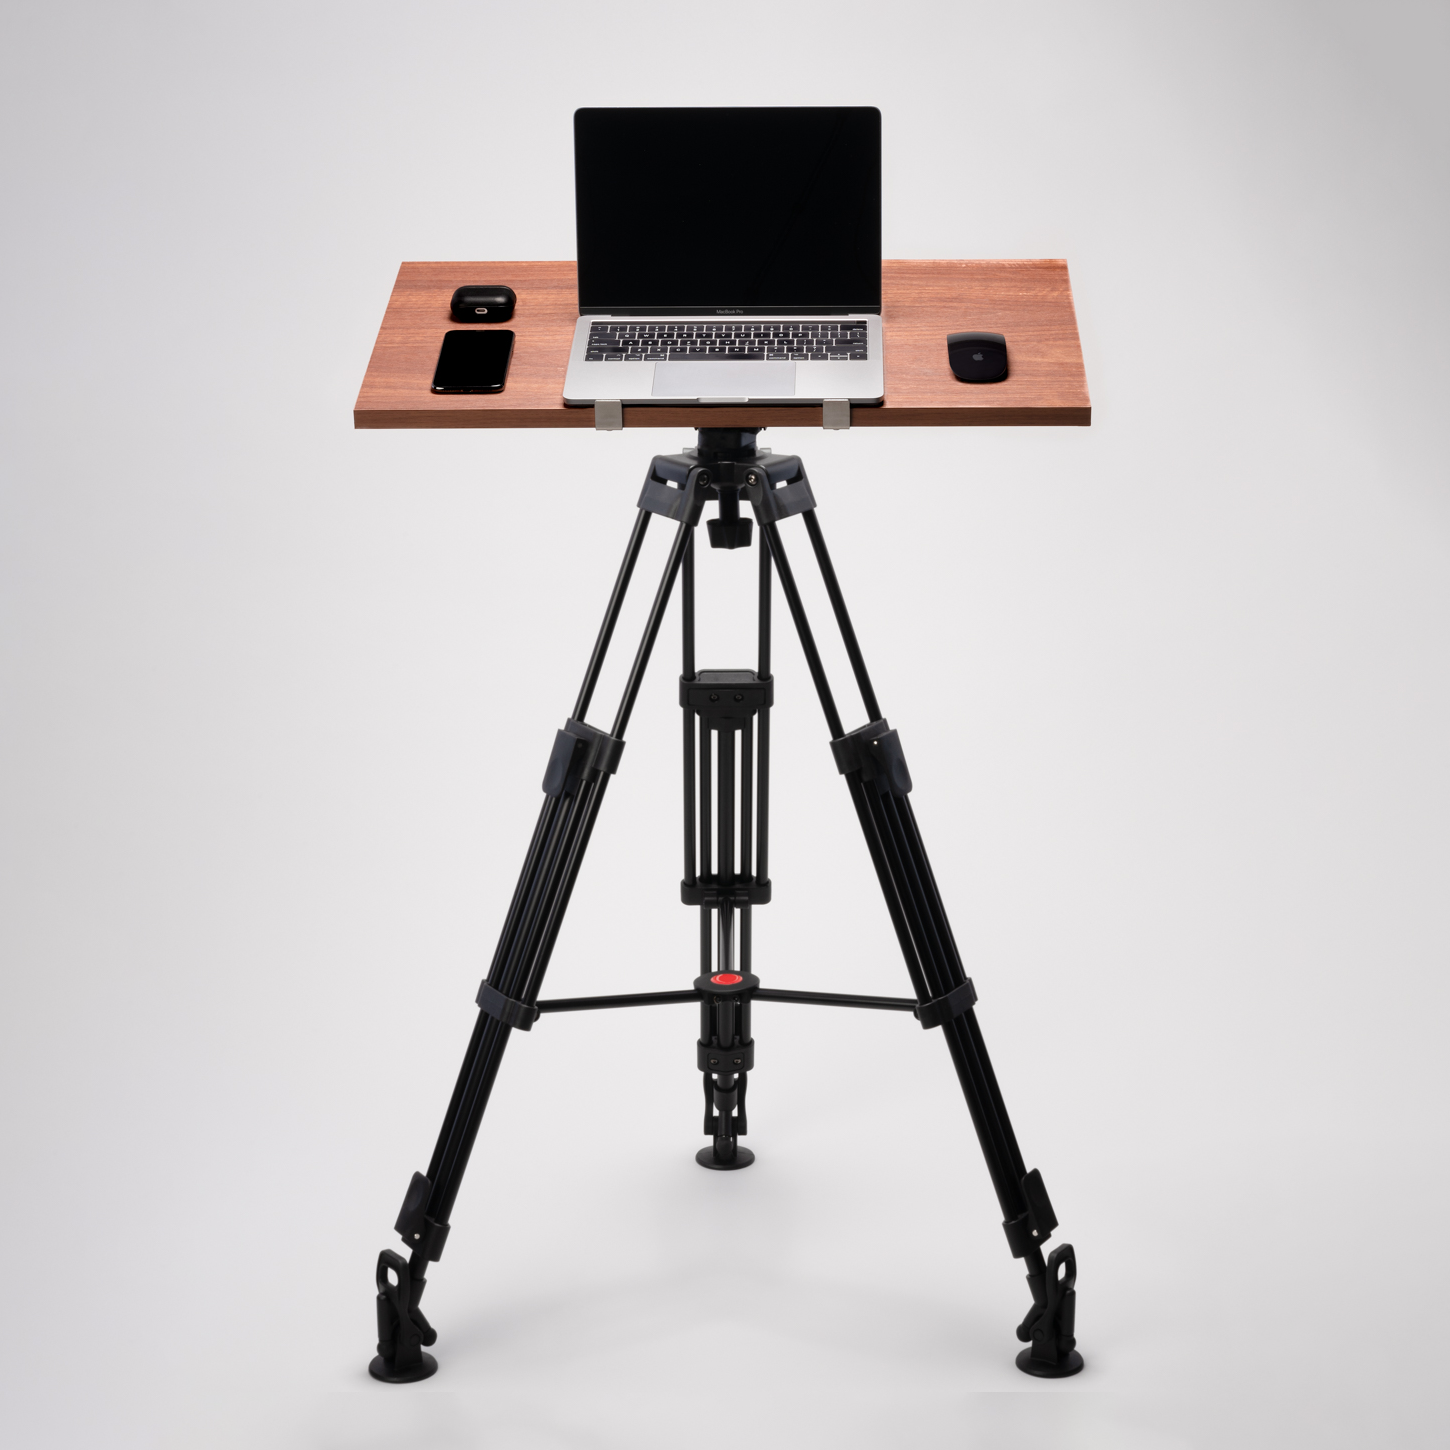
Setup
TRIPOD DESK PRO SETUP
DESK SETUP - PICTURE INSTRUCTIONS

STEP 1
Remove the tripod from its carrying case. Remove the black quick release plate by:
- Loosening the knob
- Pressing and holding the red button
- Then sliding the plate out

STEP 2
Remove the table top from its packaging and lay it on a flat surface with the holes facing up.
Align the quick release plate so it is vertical. Use a screwdriver (a coin or key works for this as well) to screw the quick release plate into the top.

STEP 3
Set the tripod base up by widening the legs and placing it on the floor.

STEP 4
Turn the table top over and align the quick release plate with the top of the tripod base. Slide it in following the direction of the arrow imprinted on the top of the tripod. When it's fully inserted, it will stop and lock into place.

STEP 5
Tighten the knob to fully secure the table top.

STEP 6
Sometimes parts come loose in shipping and can lead to a wobbly or unstable desk. Simply tighten A, B, and C to ensure that your desk is stable.
When tightening C, ensure that the post
connecting it to the tripod head is vertical to
ensure a level desk
TROUBLESHOOTING - WOBBLY DESK
TROUBLESHOOTING - LEG SLIDING DOWN

Are your legs sliding down when you apply pressure to the top? If so, you will need to use the hex key that came with your tripod to tighten the leg screws. These might have come loose during shipping, but can be tightened easily. See the images below on how to do so.

